NOT MEDICAL OR TRAINING ADVICE

Educational demo only. Use at your own risk. Not affiliated with any race organizer. Obstacles on a real course vary and are optional. Bypass anything that feels unsafe. Talk to a clinician before cold immersion, breath-hold practice, chemical irritants, or electric obstacles if you have heart disease, uncontrolled blood pressure, seizure history, serious asthma, prior heat illness, pregnancy, or implanted metal.

Hovercraft AI Services · Demo

Mud Race Field Guide

15K farm-course walkthrough

Walk the estimated course in order. Expand each obstacle for Tier 1 / Tier 2 / Tier 3 coaching: specs, technique, breath, heel/toe, and self-talk.

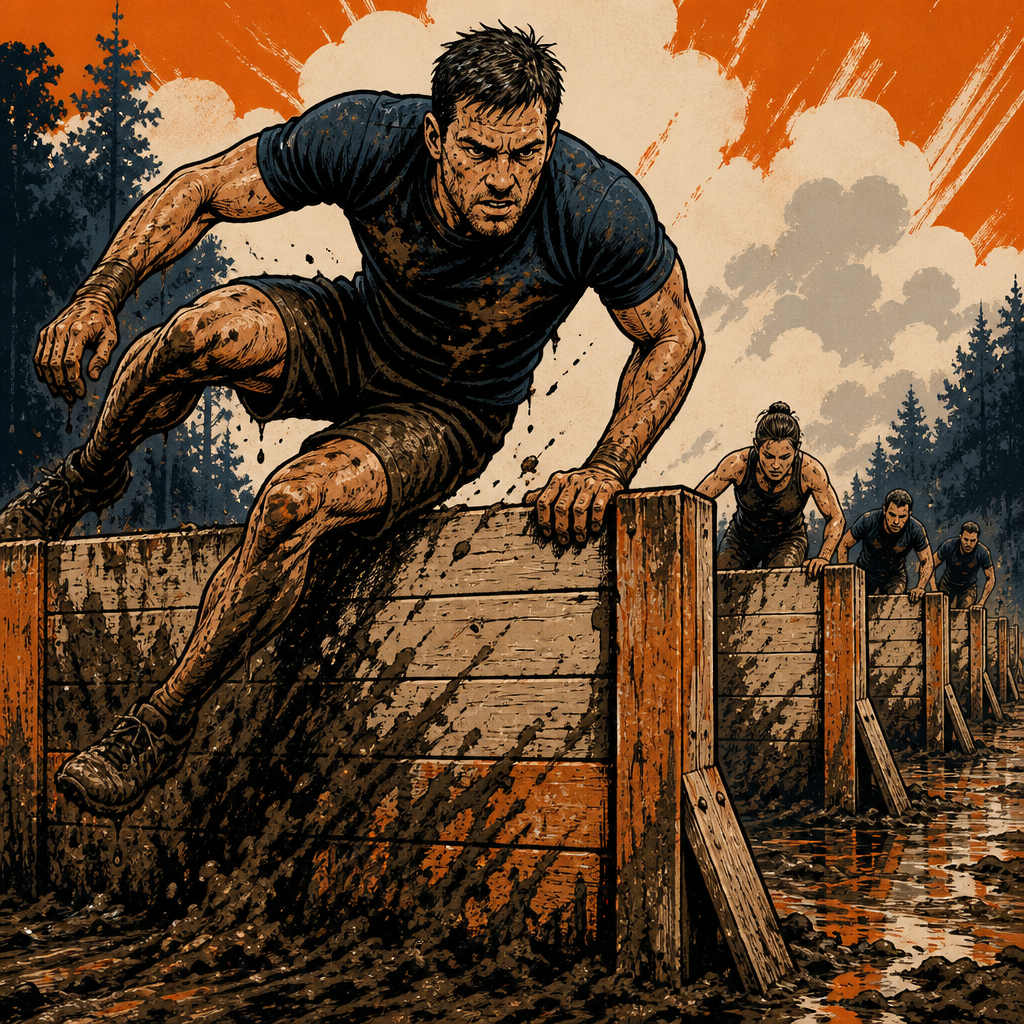
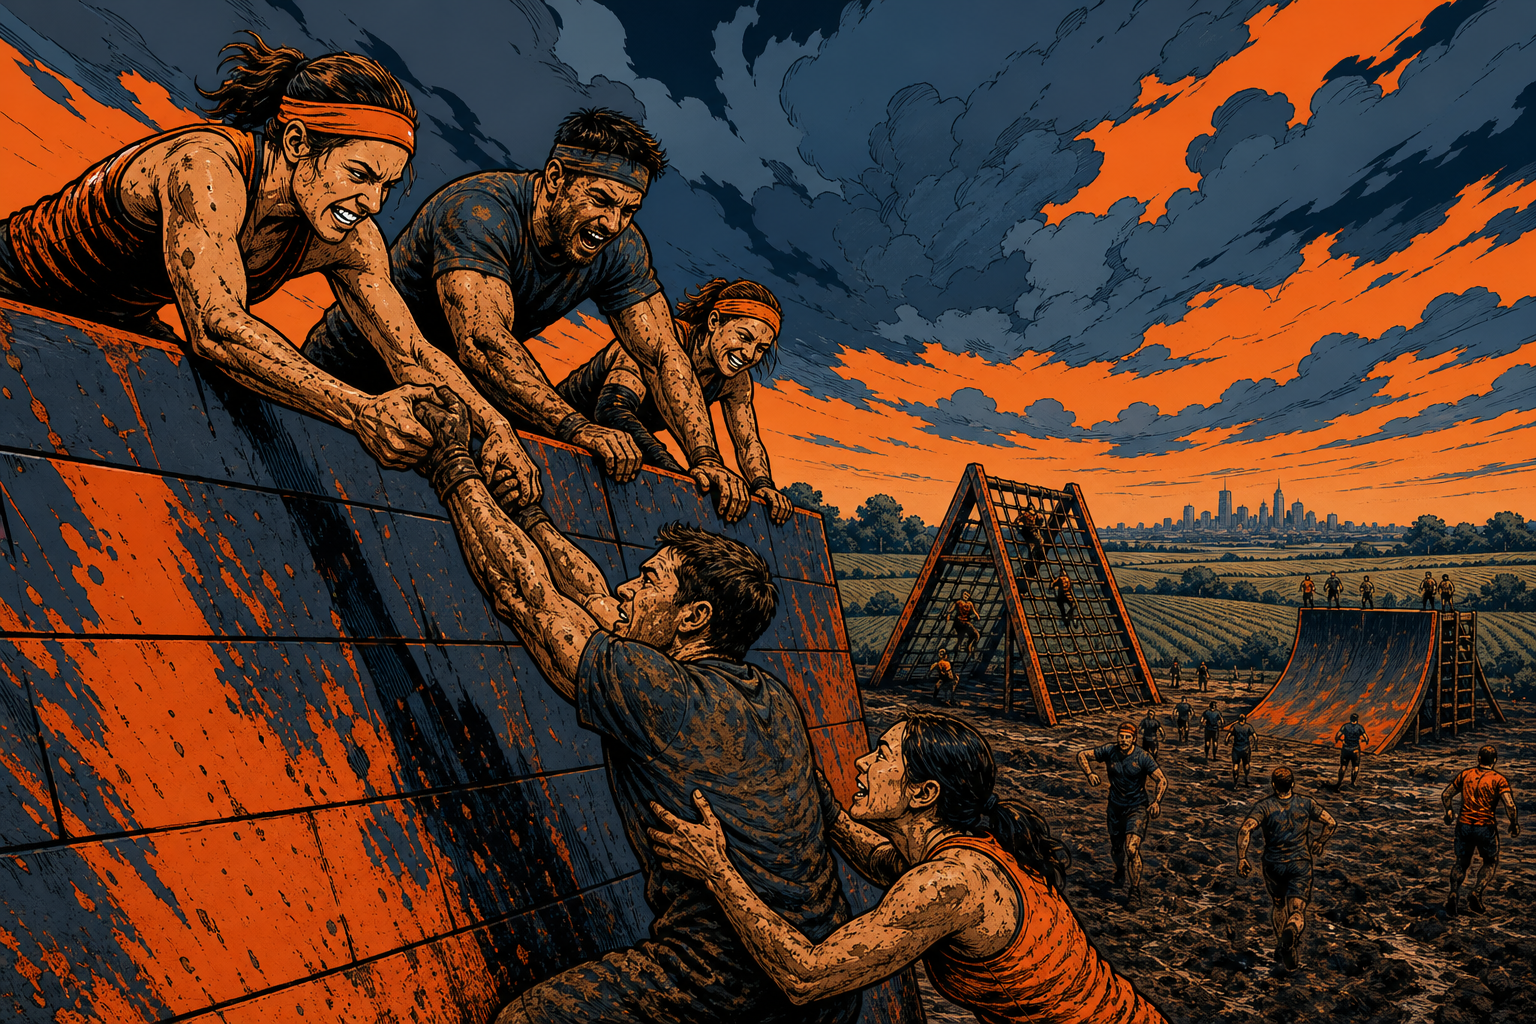
Comic-style mud-race athletes helping each other over a wall on a farm course
20Obstacles
3Coaching tiers
10Body systems
Est.Order labeled

Chronological order is an ESTIMATE

Organizers often publish the numbered course map 1-2 weeks pre-event, plus an onsite QR. Until then, treat this sequence as a training estimate.

This sequence uses common featured pieces (high walls, ice plunge, pipe climb), longer-loop extras, and typical mud-race pacing. Zone confidence is Medium. Exact slots are Low-Medium.

0 of 20 obstacles reviewed

Estimated obstacle order

Tap a card for coaching. Check Reviewed to track progress (saved in your browser).

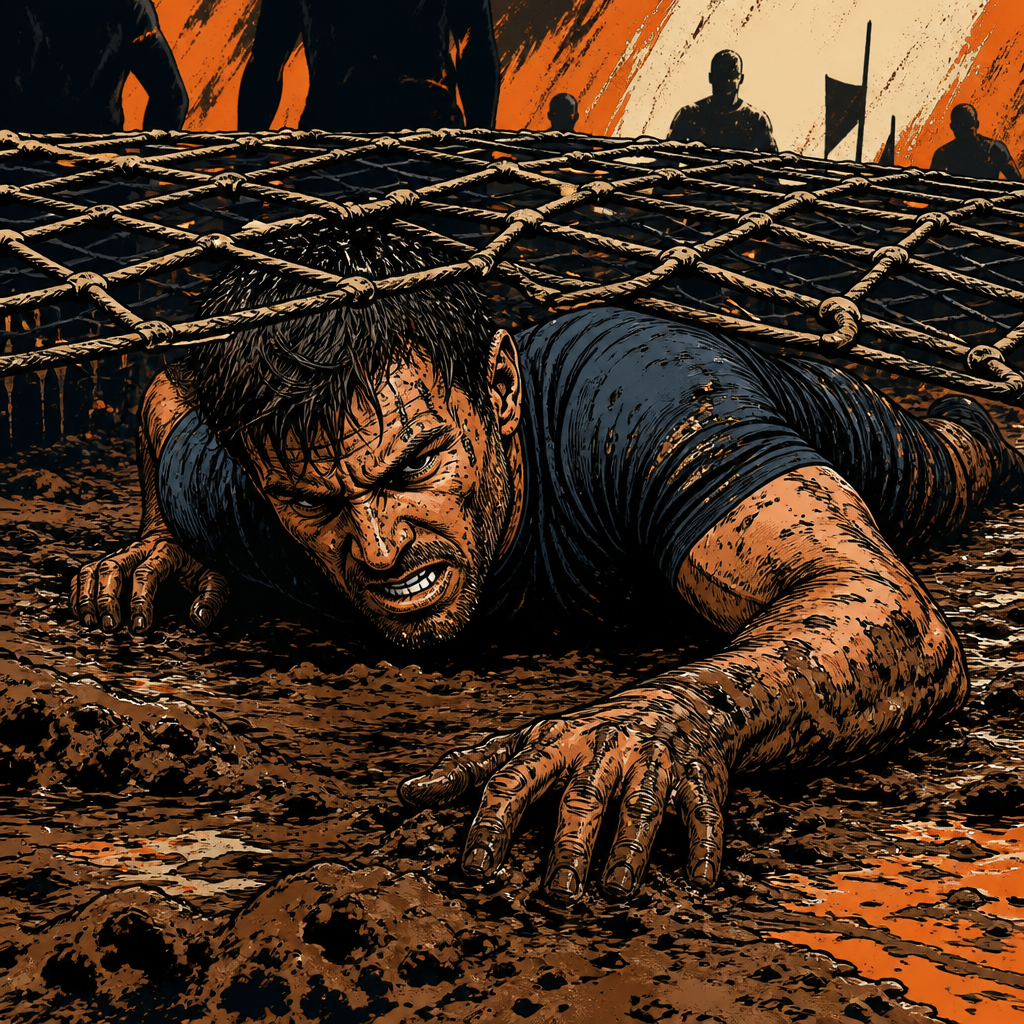
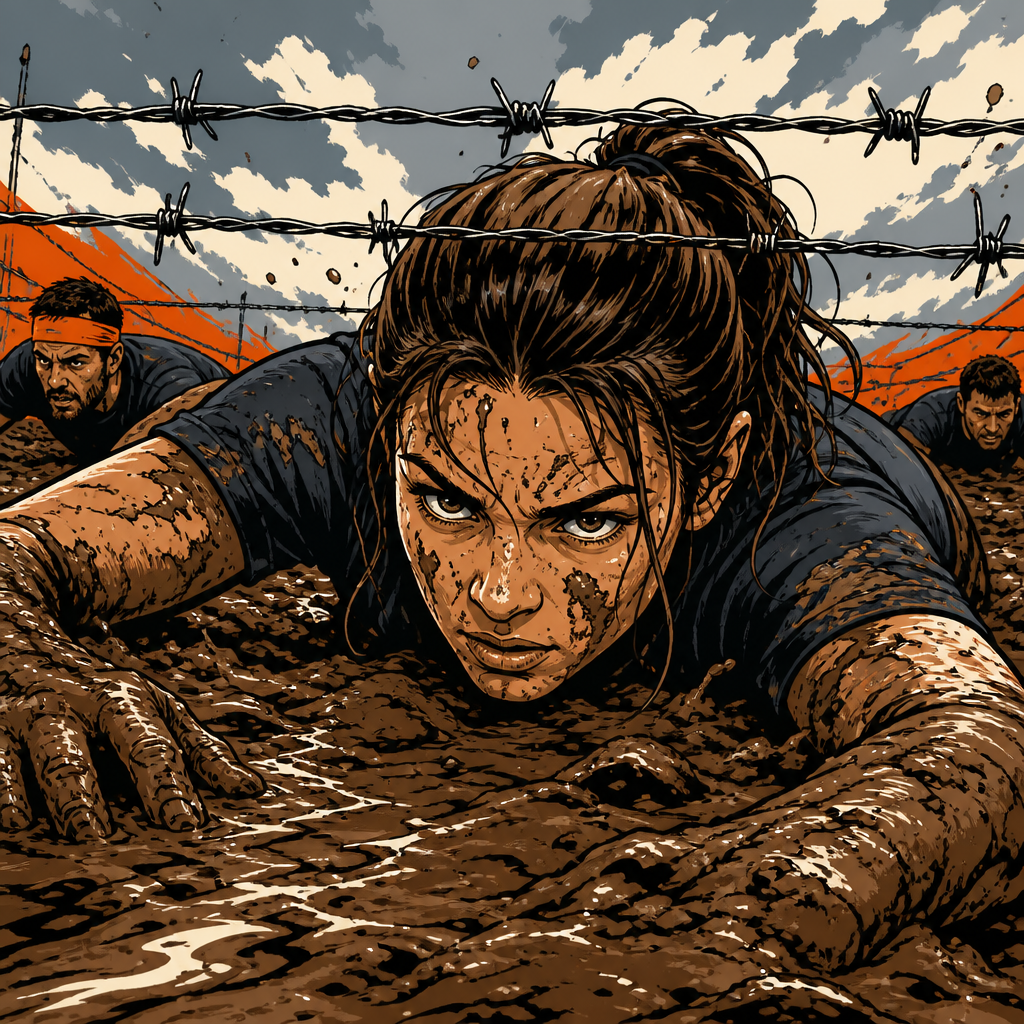
Mud crawl comic illustration

“We've given you 14" of space between the ground and the barbed wire. The choice between mud and blood is yours.”

Tier 1 · Get Through It

Low barbed-wire crawl through mud with about 14″ of headroom. Stay low, keep moving, and protect your back and scalp.

The single thing that matters: Hips down, head tucked, continuous forward motion.

Bail-out: Walk the side path. Obstacles are optional on 5K / 15K.

Tier 2 · Do It Well

  1. Drop to forearms or low army crawl before the first wire.
  2. Keep hips and butt low; high butts catch wire.
  3. Push with toes and knees; short strokes beat long lunges.
  4. If mud is deep, use a slight side-to-side wiggle to free a stuck knee.
  5. Stand only when clear of the last strand.

Grip / approach: Hands claw soft mud for purchase. Avoid planting palms under sharp debris if you can see it.

Teamwork: Call "wire!" if someone behind you sits up. Give space so boots don't kick faces.

Common failure + fix: Rising too early. Drop again immediately; a second of pride costs blood.

Tier 3 · Own It

Heel / toe: Drive with the balls of the feet and knees. Heels stay low so the butt stays low.

Breath: Exhale on each push stroke so you don't hold a panic breath.

Gaze: Gaze 2-3 ft ahead at the mud, not at the wire.

Mud / friction: Soft hands, steady pressure.

Self-talk: "Low and forward."
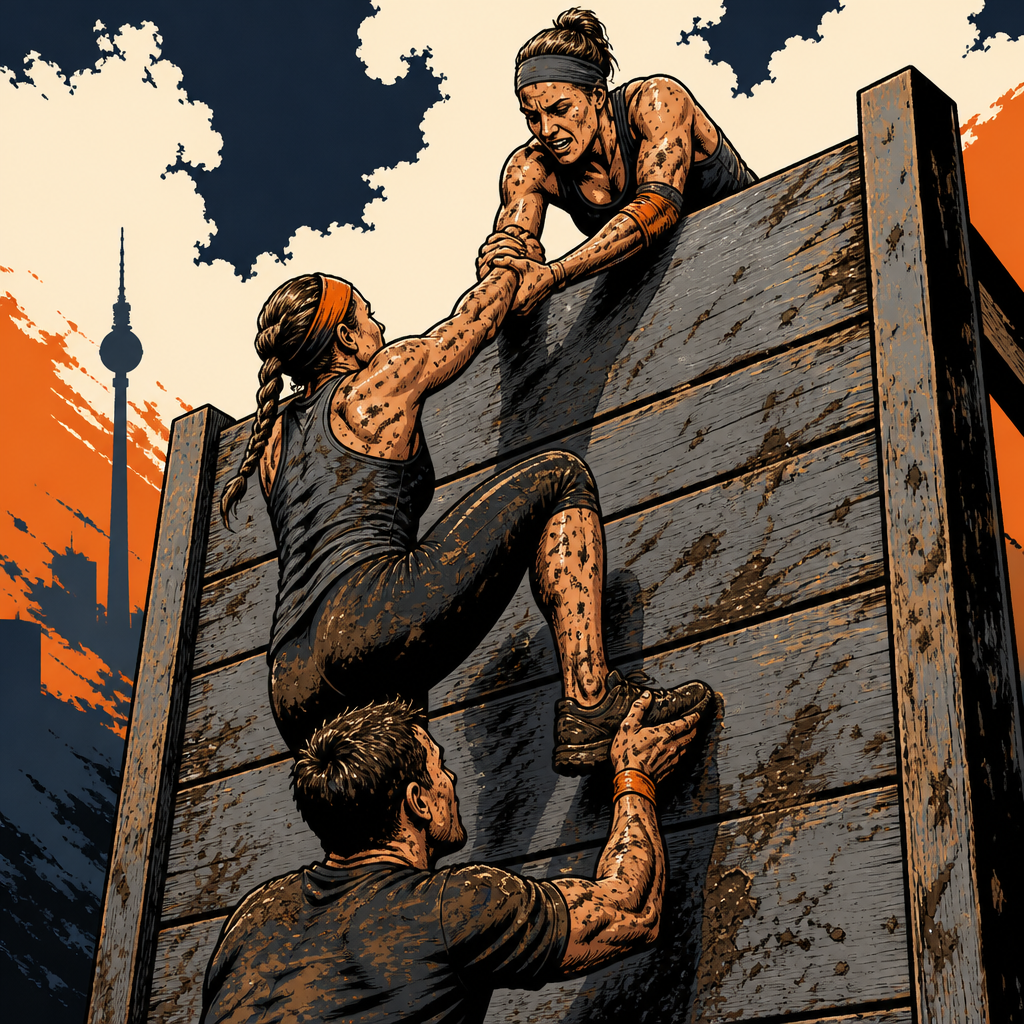
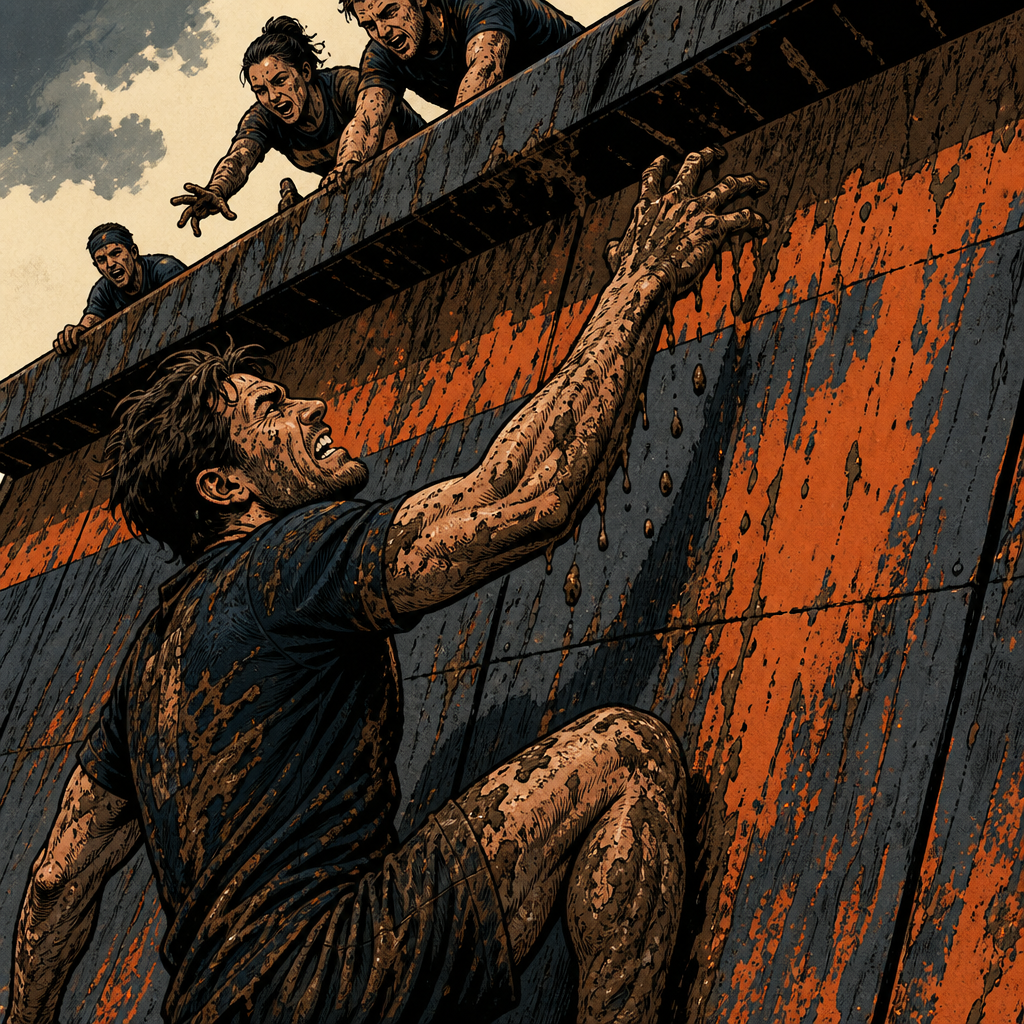
High walls comic illustration

“Discontent with the 80's hogging all the fun, we created these behemoth 8' walls as an ode to freedom.”

Tier 1 · Get Through It

Vertical 8′ walls. Most people clear them with a boost from below and a pull from above.

The single thing that matters: Ask for help early and offer it when you're over.

Bail-out: Walk around. Helping others still counts without the climb.

Tier 2 · Do It Well

  1. Queue with 2-3 people: one booster, one wall-top spotter if available.
  2. Booster cups hands or makes a knee step; climber steps hard and reaches the lip.
  3. Climber hooks chest/arms over the top, swings a leg, sits, then helps the next person.
  4. Descend controlled on the far side (drop soft or use help).
  5. Rotate roles so nobody burns out boosting alone.

Grip / approach: Muddy lip gets a palm press then a forearm hook. Wipe a patch if you can.

Teamwork: Clear calls ("boost," "got you," "leg up"). Strangers are part of the design.

Common failure + fix: Jumping alone and sliding. Reset, ask for a boost, save the shoulders.

Tier 3 · Own It

Heel / toe: Drive through the midfoot into the booster's hands. Explode hips as hands find the lip.

Breath: Brief inhale before the step, sharp exhale as you lock the top.

Gaze: Eyes on the top edge, not the ground.

Mud / friction: More bodyweight over the wall, less pure pull.

Self-talk: "Step, lock, pull the next human."

Log hold comic illustration

“Give your sore legs a break and beat up your sternum as you vault over these insidious hurdles.”

Tier 1 · Get Through It

A line of ~5′ hurdles. Vault, belly-flop, or climb. Pick the method that keeps you moving.

The single thing that matters: Commit to a method per hurdle instead of hesitating at the face.

Bail-out: Walk around the set or use the side path.

Tier 2 · Do It Well

  1. Approach with 3-4 controlled steps.
  2. Hands on the top rail, chest close, swing a leg over (or roll belly across).
  3. Land soft on the far side; reset posture before the next.
  4. Keep a steady rhythm across the series.
  5. If legs are cooked, use a knee-up climb and accept the sternum tax.

Grip / approach: Hands wide on the rail. Push down while hips rise.

Teamwork: Rare need. Spot a tired teammate's landing if the far side is slick.

Common failure + fix: Half-commit jump that catches the thighs. Plant hands, load the hips, finish the swing.

Tier 3 · Own It

Heel / toe: Push through the midfoot on the plant step. Lead with the hip, not a high knee alone.

Breath: Exhale as hips clear the rail.

Gaze: Look at the top of the next hurdle while landing this one.

Mud / friction: Shorter approach, more upper-body press.

Self-talk: "Hands down, hips over."

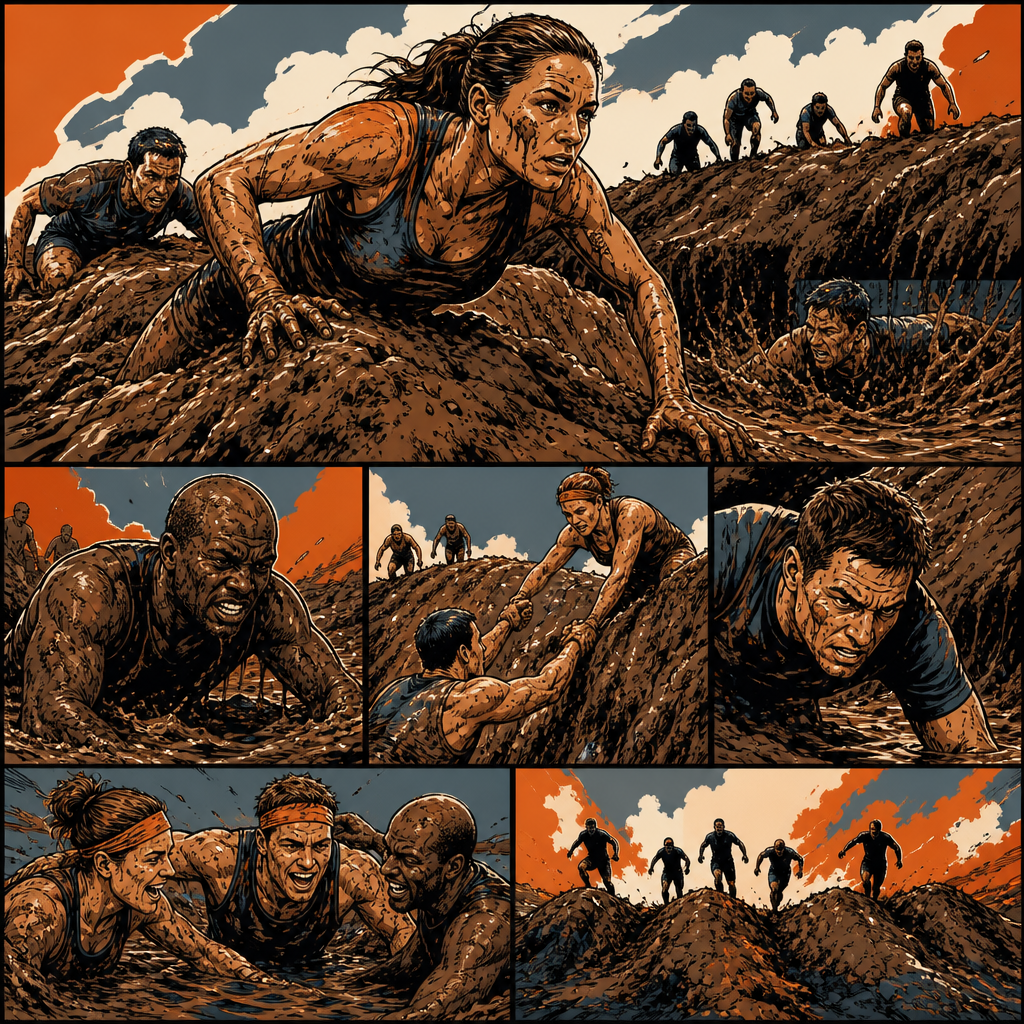
Mud trenches comic illustration

“A puddle of mud is an inconvenience. A series of 10' deep, rolling mud mountains is a privilege.”

Tier 1 · Get Through It

A chain of excavated mud pits and mounds. You climb out of soup onto slick hills, then drop into the next pit. Marketing says 10′ mountains; FAQ says 6-8′ pits.

The single thing that matters: Use hands, knees, and teammates on the mounds. Thrashing in place digs you deeper.

Bail-out: Side path if offered, or take the shallowest edge line.

Tier 2 · Do It Well

  1. Enter controlled. Don't dive.
  2. On exits, plant hands high on the mound and knee-drive.
  3. Form a human chain on steep faces: one person anchored, one pulling.
  4. Rest standing in shallower water between mounds, not face-down in deep soup.
  5. Clear shoes of heavy clumps only if they truly block a step.

Grip / approach: Claw fingers into clay. Flat palms slide.

Teamwork: This is a village obstacle. Pull strangers. Accept pulls.

Common failure + fix: Sprinting the first mound then drowning in fatigue. Steady pace, share the climbs.

Tier 3 · Own It

Heel / toe: Toes and knees dig. Heels often skate on slick clay.

Breath: Breathe in the pit, work on the climb. Exhale on the drive.

Gaze: Eyes on a handhold 2 ft up the mound.

Mud / friction: More points of contact beat one heroic leap.

Self-talk: "Slow out, help up."

Halfpipe comic illustration

“These 8' walls have a bit of a hangover - and now it's your problem to deal with.”

Tier 1 · Get Through It

An 8′ wall that leans toward you, so the lip sits farther out than a vertical Berlin wall. You need a boost, a run-up, or both.

The single thing that matters: Get hips over the lean. Pulling straight up fights the geometry.

Bail-out: Walk around. Same optional rule as other walls.

Tier 2 · Do It Well

  1. Scout the lean. Plan a booster plus a strong top puller.
  2. Short run or hard step into the booster.
  3. Reach past the lip, hook elbows, then fight the hips over the overhang.
  4. Sit the top, help the next climber immediately.
  5. Descend the back side with control.

Grip / approach: Overhand on the lip. Wipe mud if a dry patch exists.

Teamwork: More critical than High walls. Assign the strongest puller to the top early.

Common failure + fix: Hanging vertical under the lean until arms die. Drop, reset boost, commit hips sooner.

Tier 3 · Own It

Heel / toe: Drive midfoot into the boost. Think "hips to sky" as hands lock.

Breath: Exhale as elbows hook.

Gaze: Gaze at the far side of the top plank, past the overhang.

Mud / friction: Accept more help, less hero pull.

Self-talk: "Hips over the hangover."

Cargo-net crawl comic illustration

“Support sustainable fishing by getting yourself caught in a smotheringly heavy net instead.”

Tier 1 · Get Through It

A heavy cargo net pinned low. You crawl under while the net presses you into the dirt.

The single thing that matters: Create a small tent with your back/shoulders and keep inching forward.

Bail-out: Side path. Optional obstacle.

Tier 2 · Do It Well

  1. Enter low on forearms.
  2. Lift a pocket of net with one forearm/shoulder while the other side advances.
  3. Short frog kicks or knee drives.
  4. Don't thrash. Thrashing tightens the mesh on you.
  5. Exit fully before standing so the net doesn't snag gear.

Grip / approach: Grab mesh diamonds and shove them upward, then release and regrip ahead.

Teamwork: A partner can lift the net edge at the mouth. Mid-net you're mostly solo.

Common failure + fix: Panic thrash. Stop, make a pocket, one limb at a time.

Tier 3 · Own It

Heel / toe: Knees and toes push. Keep heels from kicking the net into your back.

Breath: Short exhales under load.

Gaze: Gaze at the next mesh diamond ahead.

Mud / friction: Use more lift and less speed.

Self-talk: "Pocket, step, pocket."

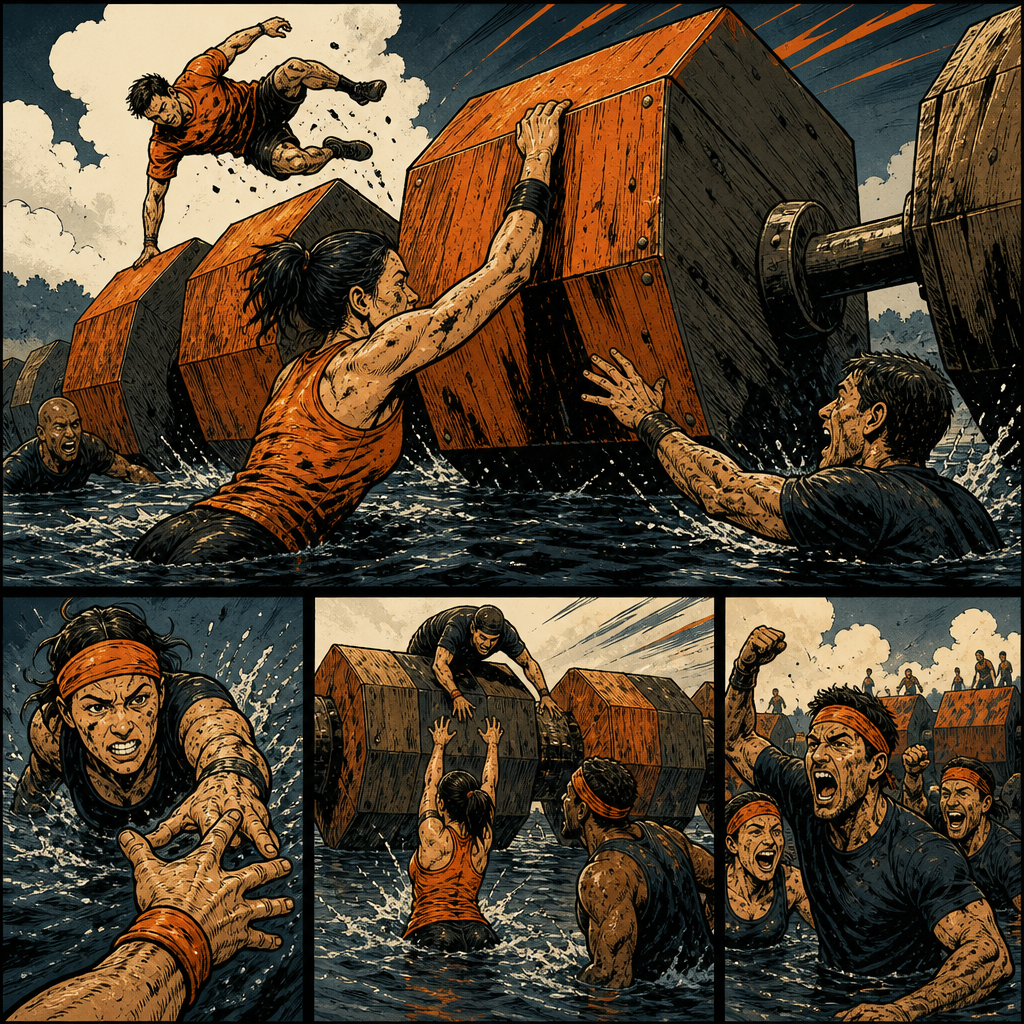
Floating blocks comic illustration

“Flip your friends off - and have them thank you for it. Rotating a set of 500lb blocks takes a village.”

Tier 1 · Get Through It

Chest-deep water with huge rotating timber blocks (~30 ft / 9 m long, 500 lb). You climb over as the block turns. It takes a group.

The single thing that matters: Coordinate the flip with the people already on the block.

Bail-out: Walk the perimeter if staffed/allowed, or wait for a full team wave.

Tier 2 · Do It Well

  1. Wade in and join a group of 4-8.
  2. Time the rotation. Mount when the face presents a climbable angle.
  3. Bodyweight on the high side helps the next people. Stay balanced.
  4. Communicate "wait / go / flip."
  5. Drop into water on the far side with a soft landing, then clear the exit.

Grip / approach: Hug the wood. Muddy boots need deliberate foot placement.

Teamwork: This obstacle is the teamwork thesis. Quiet leaders beat shouty chaos.

Common failure + fix: Solo climbing against the rotation. Wait 10 s for a crew, then go together.

Tier 3 · Own It

Heel / toe: Soft knees on the wood. Toes find edges, heels stay ready to adjust.

Breath: Breathe between flips. Hold breath only for the short drop.

Gaze: Eyes on the next foothold, not the spinning world.

Mud / friction: More friction from body contact than shoe rubber alone.

Self-talk: "We flip it together."

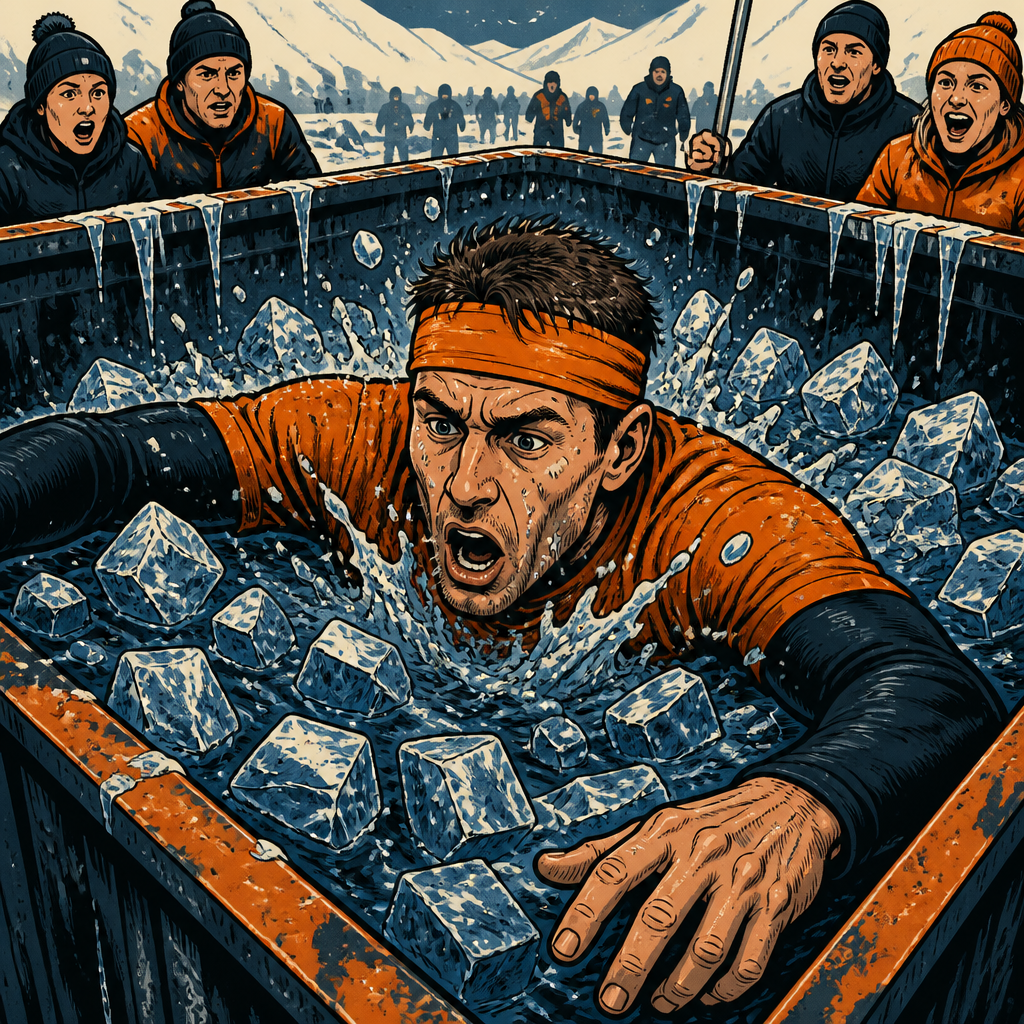
Ice plunge comic illustration

“Take a dunk in this 34 degree ice pit. Glass will never be safe again.”

Tier 1 · Get Through It

A short slide or drop into ~34°F ice water, dunk under a baffle, then climb out. The gasp is normal physiology.

The single thing that matters: Keep your airway clear. Ride out the first 30-60 s without inhaling water.

Bail-out: Walk around. Strongly consider bypass if you have cardiac risk, seizure history, or uncontrolled panic in water. Get clinical clearance before cold practice.

Tier 2 · Do It Well

  1. Before entry: normal tidal breathing. Optional slightly deeper inhale. No hyperventilation.
  2. Enter, dunk under the baffle as required, protect nose/mouth.
  3. Face the gasp. Blow out slowly if your head is above water. Do not inhale water.
  4. As soon as your airway is clear and you can move, go to the exit. Do not linger in ice water to "wait out" the gasp.
  5. Climb out, walk to rewarm, then resume pace. Seek event medical if dizziness, chest pain, or confusion continues.

Grip / approach: Use exit rails/walls. Cold hands are weak, so use elbows and legs more.

Teamwork: Calm voices help. Spot panicked athletes toward staff/exit.

Common failure + fix: Sprinting the dunk on empty lungs. Reset breathing on the deck, enter with a plan.

Tier 3 · Own It

Heel / toe: Soft feet on the exit climb. Numb toes still push.

Breath: On immersion: expect gasp, longer exhale, short safe breaths after. Never hyperventilate to go farther underwater.

Gaze: Gaze at the exit ladder once your head clears.

Mud / friction: Anxiety can worsen the gasp. Rehearse the line "gasp is normal."

Self-talk: "Gasp, exhale, exit."

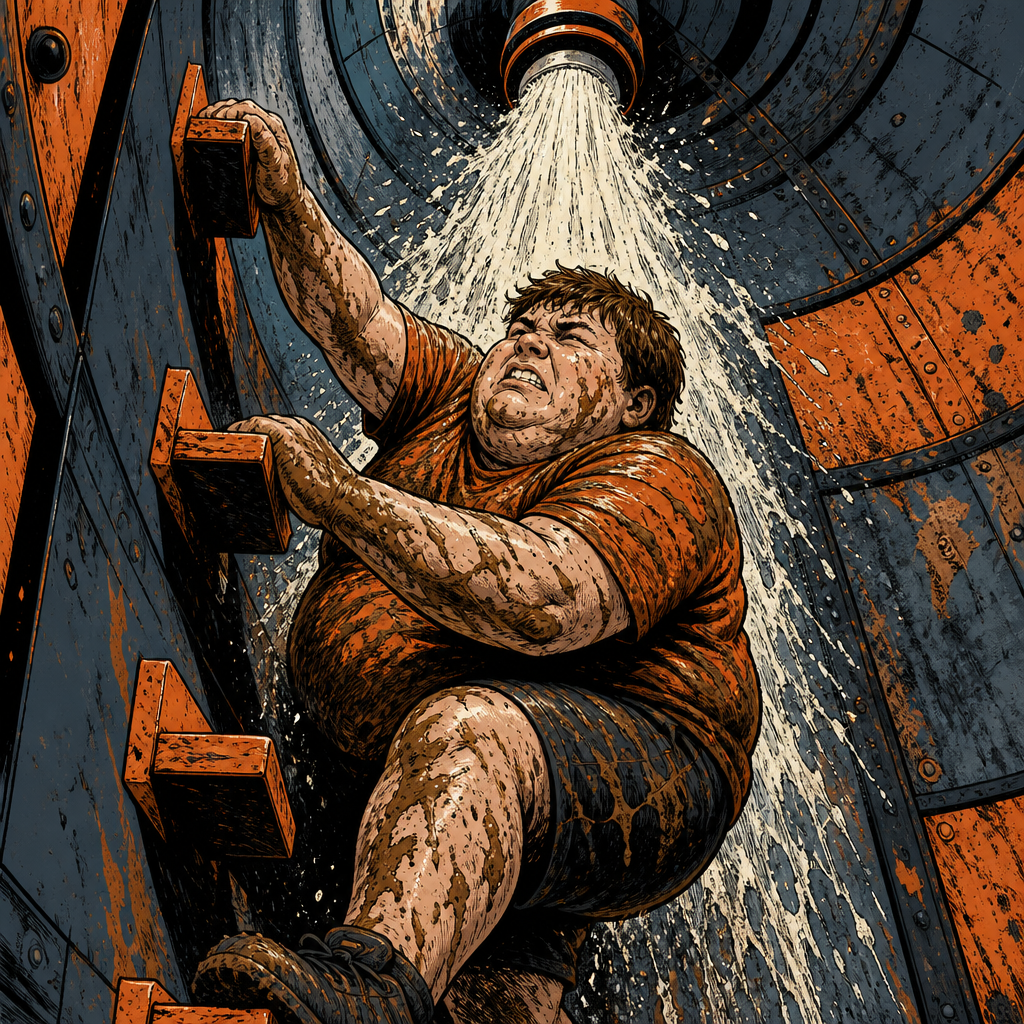
Pipe climb comic illustration

“After the 1000th complaint about our muddy courses, we decided to just blast runners with a fire hose while they climb up an enclosed tube.”

Tier 1 · Get Through It

Climb a vertical enclosed tube while water blasts you from above. It's loud, wet, and slippery.

The single thing that matters: Three points of contact and steady upward progress.

Bail-out: Skip the tube if claustrophobia or water-in-face panic spikes. Optional on standard distances.

Tier 2 · Do It Well

  1. Enter, find the first rungs/holds with both hands.
  2. Move one limb at a time. Keep three points locked.
  3. Tuck chin so water hits the crown/back more than the nose.
  4. Pause briefly if blinded. Regrip, then continue.
  5. Clear the top fully before celebrating.

Grip / approach: Overhand crush on wet rungs. Wipe once if a dry patch appears mid-climb.

Teamwork: Wait for the person above to clear before you enter if the tube is single-file.

Common failure + fix: Rushing and losing both feet. Freeze, reestablish feet, then hands.

Tier 3 · Own It

Heel / toe: Midfoot on rungs. Avoid tippy toes on slick metal.

Breath: Exhale on each upward step so you don't gasp-swallow water.

Gaze: Eyes on the next rung, not the spray.

Mud / friction: Slow pressure beats frantic slip-spin.

Self-talk: "Three points. Next rung."

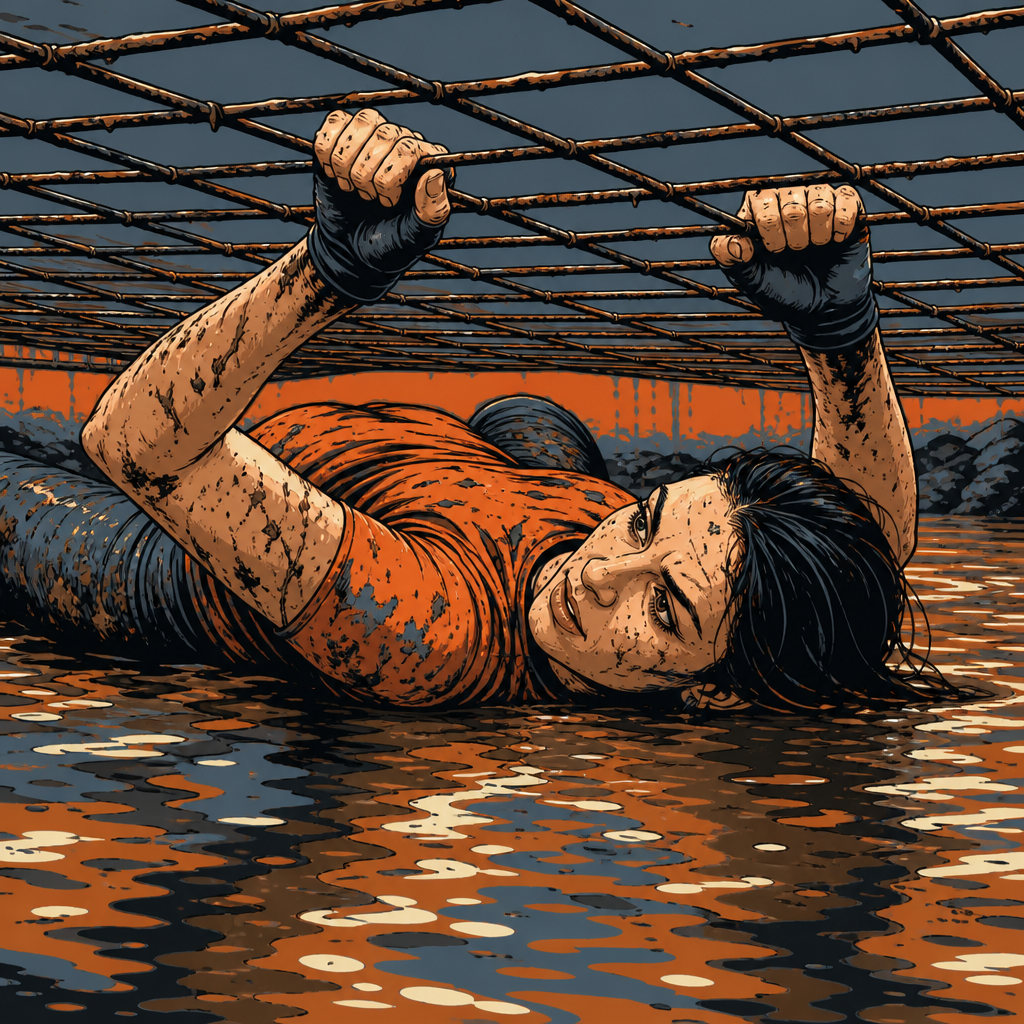
Underwater cage comic illustration

“Pulling yourself along a 48' pit of water with 4" to breathe might not make you panic, but it will definitely make you pee at least a little bit.”

Tier 1 · Get Through It

You float/crawl on your back under a cage with roughly 4″ of air. Pull yourself along for ~48′ (some page copy says 60′).

The single thing that matters: Short frequent breaths in the air gap. Calm hands. Exit if the gap floods.

Bail-out: Do not force a long apnea. Use help or bypass. Hyperventilation before entry is specifically unsafe (hypoxic blackout risk).

Tier 2 · Do It Well

  1. Enter on your back, face to the air gap.
  2. Pull along the cage/fence with controlled hand-over-hand.
  3. Breathe short and often. Skip underwater distance contests.
  4. Minimize thrashing (it spikes O₂ use and panic).
  5. At the end, sit up only when fully clear.

Grip / approach: Fingers through mesh. Steady cadence.

Teamwork: Talk someone through entry. Mid-cage you're mostly alone with staff oversight.

Common failure + fix: Big breath-hold then thrash. Reset to short breaths, slow pulls.

Tier 3 · Own It

Heel / toe: Legs float soft. Heels can lightly kick for line, toes relaxed.

Breath: Sip air, soft exhale, sip again. Never hyperventilate to go farther underwater.

Gaze: Gaze along the cage line toward the exit light.

Mud / friction: Name the length once ("about 50 feet"), then count pulls.

Self-talk: "Sip air. Pull. Sip air."

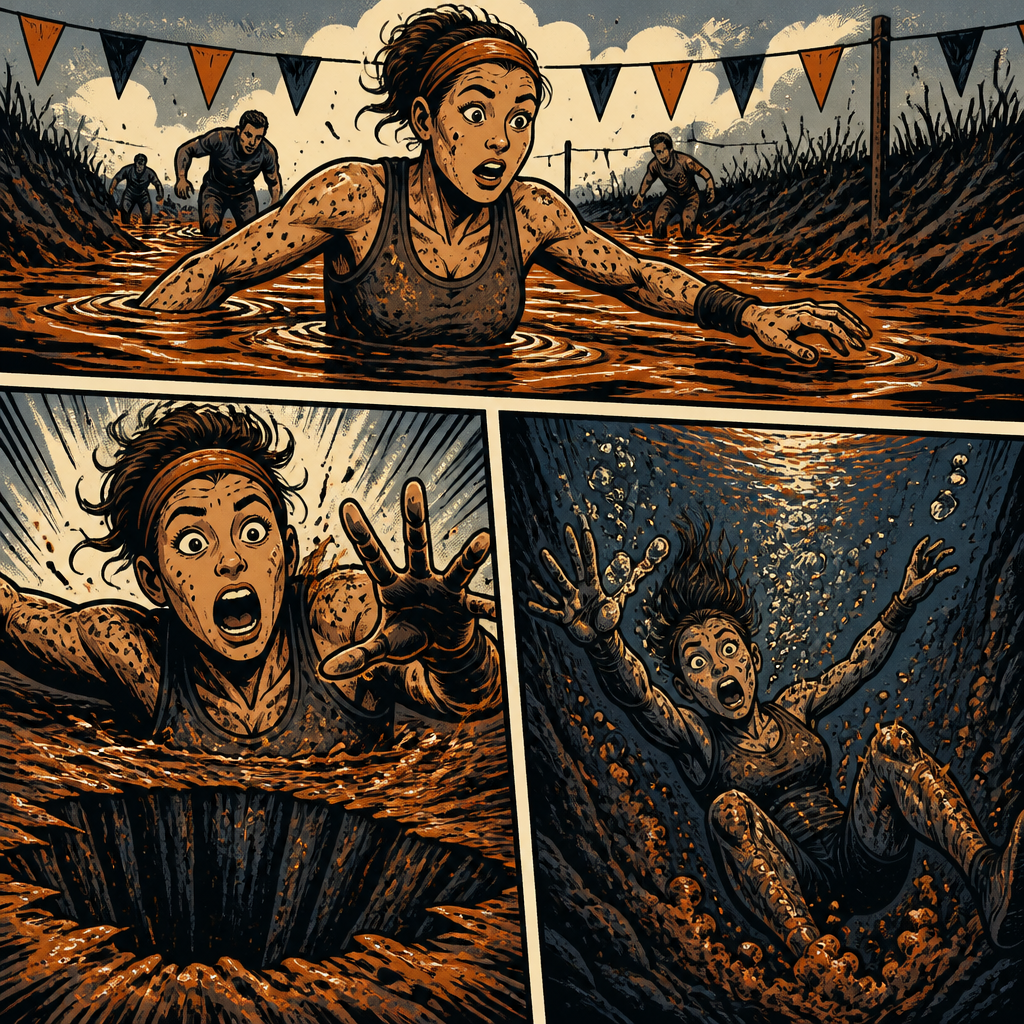
Hidden pits comic illustration

“The only place you'll find hole-y water on the course.”

Tier 1 · Get Through It

A watery mud section with hidden drop holes. One step is ankle deep; the next swallows your leg.

The single thing that matters: Probe with each step and keep soft knees.

Bail-out: Edge walk if a shallow line exists, or bypass.

Tier 2 · Do It Well

  1. Enter slow. Lead with a probe foot.
  2. Keep knees soft and hands ready for a catch.
  3. If you drop into a hole, plant hands, free the foot, then stand.
  4. Don't sprint for "momentum."
  5. Clear the section before accelerating again.

Grip / approach: Poles aren't standard. Use hands on the bottom when you fall in.

Teamwork: Call holes to the person behind you ("left drop!").

Common failure + fix: Stiff-legged charging. Slow down, soften knees, probe.

Tier 3 · Own It

Heel / toe: Whole-foot pressure when stable. Toe probe when unsure.

Breath: Exhale when a hole eats your leg so you don't panic-gasp.

Gaze: Eyes on water surface texture for clues.

Mud / friction: After a fall: crawl two strokes then stand.

Self-talk: "Probe. Soft knees."

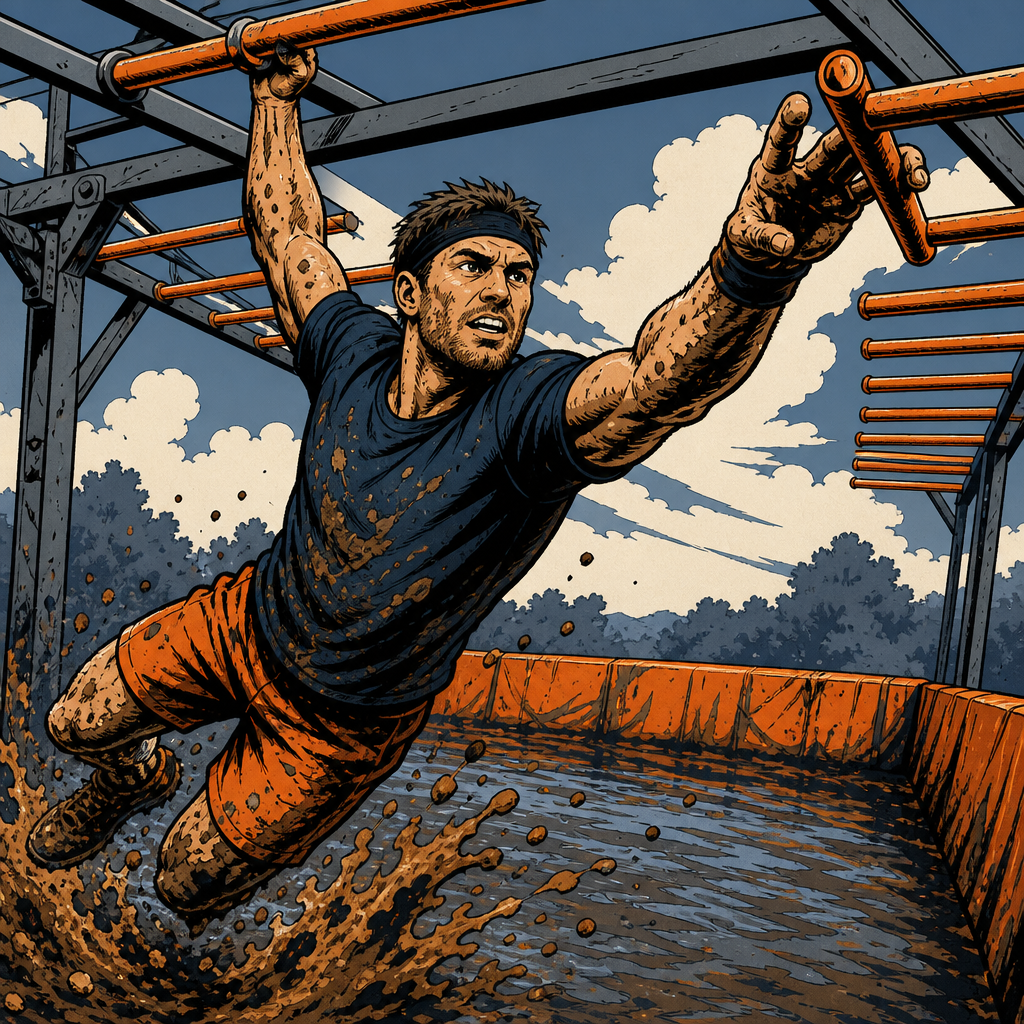
Monkey bars comic illustration

“A set of gussied up monkey bars, designed to fling you into the water with reckless abandon.”

Tier 1 · Get Through It

Hang traverse over deep water with bars and spinning wheels. Miss a catch and you swim.

The single thing that matters: One deliberate grab at a time with packed shoulders.

Bail-out: Swim the pit or use the walk-around. Practice swimming confidence before race day if you attempt it.

Tier 2 · Do It Well

  1. Wipe mud from hands if you can. Shake out once.
  2. Jump to first bar with active shoulders (not a dead hang shrug).
  3. Swing with hips. Catch the next bar at the end of the swing, not mid-dead stop.
  4. On spinning wheels: commit weight, keep moving, don't freeze on a spinning face.
  5. Drop feet to the far platform when close. Don't overreach the last bit.

Grip / approach: Mixed or overhand. Bare hands or proven wet-grip gloves. Cotton gloves fail.

Teamwork: Clear the landing so the next athlete has a target. Cheer timing helps more than mid-bar contact.

Common failure + fix: Death-gripping static. Add hip swing, softer fingers, faster cadence.

Tier 3 · Own It

Heel / toe: Hang with hollow-ish trunk. Toes pointed slightly forward for swing rhythm. Heels heavy if you need to slow.

Breath: Exhale on the catch.

Gaze: Gaze at the next bar, not the water.

Mud / friction: Cold/mud hands: shorter swings, more frequent regrips.

Self-talk: "Swing, catch, swing."

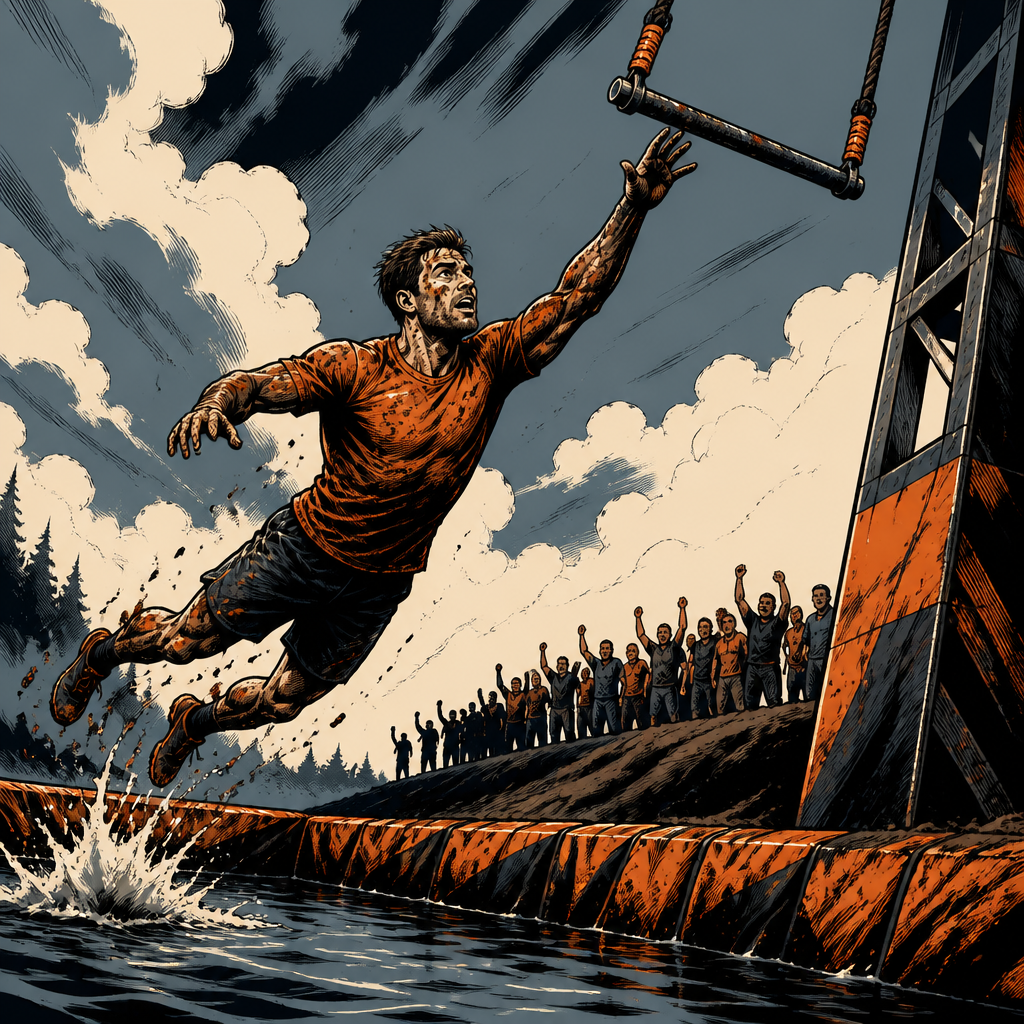
Trapeze rings comic illustration

“Jump high, hang low, and let it all swing out on this trapeze.”

Tier 1 · Get Through It

Jump to a trapeze, swing out, drop into a water pit. Height plus commitment.

The single thing that matters: A committed jump to the bar. Half-jumps miss.

Bail-out: Stairs/path around if available. Optional on standard distances.

Tier 2 · Do It Well

  1. Set feet on the jump platform. Pick a focal point on the bar.
  2. Jump up and slightly out. Grab with both hands.
  3. Swing through. Wait for forward rise before releasing.
  4. Let go on purpose over water. Enter feet-first, legs together, arms clear of the face. Do not dive head-first.
  5. Swim to the exit ramp.

Grip / approach: Overhand, thumbs wrapped. Wet bar needs a true jump, not a tippy reach.

Teamwork: One person on the platform at a time. Clear calls from volunteers.

Common failure + fix: Releasing at the bottom of the arc. Hold one extra beat into the rise, then drop.

Tier 3 · Own It

Heel / toe: Drive off the balls of both feet. Soft knees on the platform.

Breath: Inhale before jump, exhale on grab.

Gaze: Eyes on the bar until hands lock, then soft focus to the water.

Mud / friction: Decide the release point before you jump.

Self-talk: "Jump. Swing. Drop on purpose."

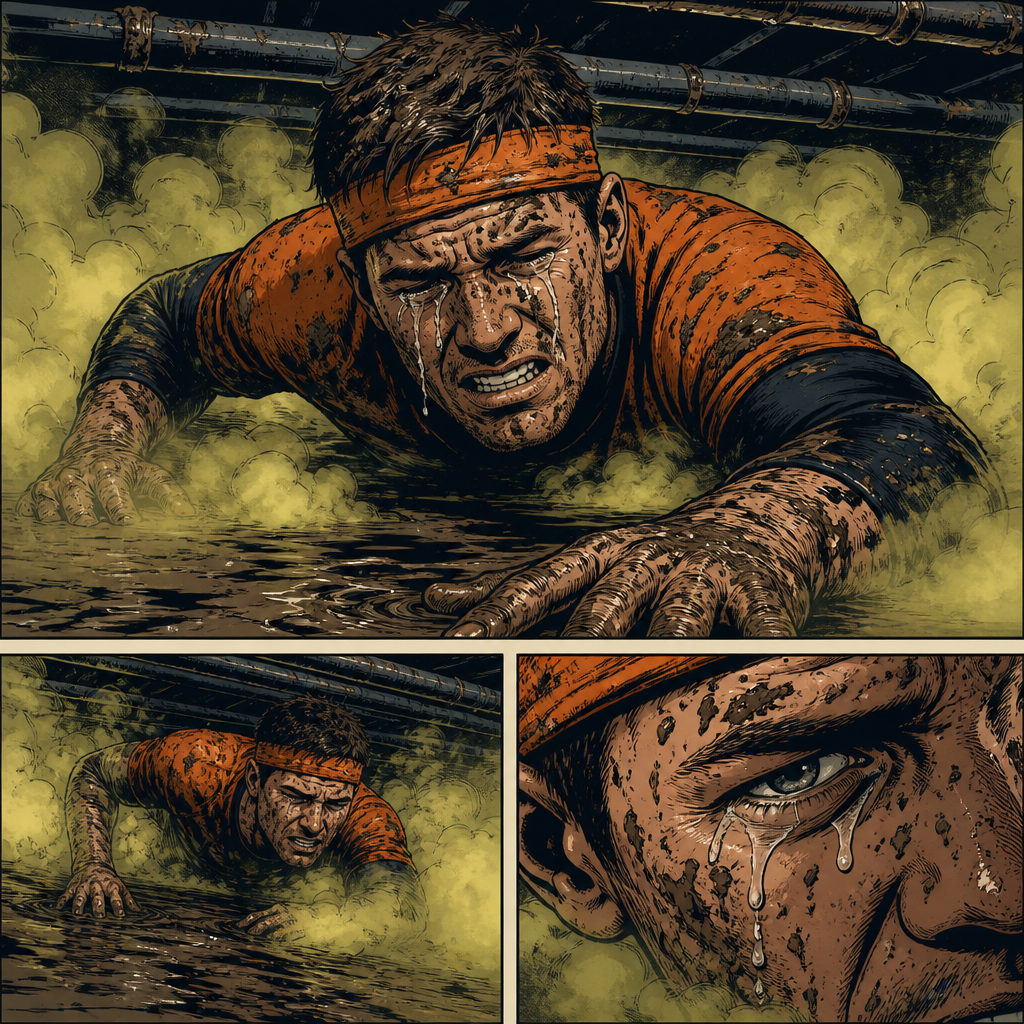
Irritant tunnel comic illustration

“Clear those sinuses and dry those eyes with a crawl through an irritant-gas tunnel.”

Tier 1 · Get Through It

A low crawl through fog and proprietary irritant gas (brand calls it tear gas). Eyes and sinuses burn. Intensity varies; treat it as a voluntary sensory challenge, not a mild novelty.

The single thing that matters: Keep moving to fresh air. Don't stop mid-tunnel to rub your eyes raw.

Bail-out: Strongly consider bypass for asthma, contacts sensitivity, or respiratory issues. Optional obstacle. Seek event medical if breathing stays hard after exit.

Tier 2 · Do It Well

  1. Take a normal breath at the mouth of the tunnel.
  2. Crawl low and steady on forearms.
  3. Eyes half-closed. Mouth breathing is fine if nose burns.
  4. Do not hyperventilate. Short calm breaths.
  5. Exit, face into clean air/wind, blink it out. Rinse if aid offers water for face (follow staff guidance).

Grip / approach: Standard crawl. Hands find the floor path.

Teamwork: Give space so you're not breathing someone else's panic.

Common failure + fix: Stopping to claw at eyes. Crawl 5 more meters first, then blink outside.

Tier 3 · Own It

Heel / toe: Knees and toes drive. Keep a steady cadence.

Breath: Small sips, longer exhales.

Gaze: Gaze soft toward the exit light.

Mud / friction: Discomfort peaks then fades in fresh air.

Self-talk: "Through to clean air."

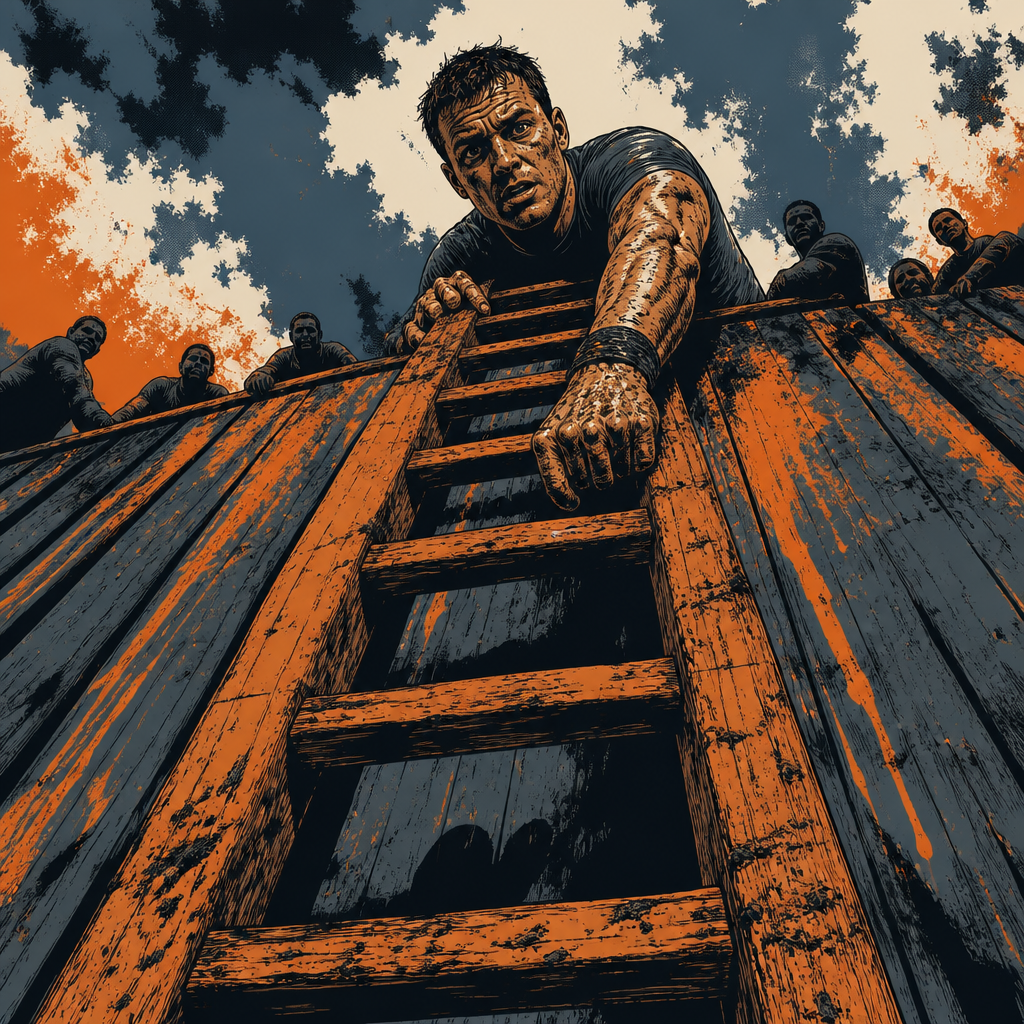
Inverted ladder comic illustration

“You should probably get a grip - the top of this 15' ladder is no place to get loosey-goosey.”

Tier 1 · Get Through It

A tall wooden ladder (~15′; some page copy says 12′) with tight rung spacing. Climb up and over with three points of contact.

The single thing that matters: Never move two points at once at height.

Bail-out: Bypass if heights freeze you. Optional on standard distances.

Tier 2 · Do It Well

  1. Start with both hands and one foot set.
  2. Move one limb. Lock it. Then the next.
  3. At the top, pause, swing a leg over, then descend the far side the same way.
  4. Keep hips close to the ladder.
  5. Clear the landing zone before the next climber starts.

Grip / approach: Full fist around rungs. Muddy wood needs slower cadence.

Teamwork: One climber per face when crowded. Spot at the bottom for nervous athletes.

Common failure + fix: Looking down and freezing. Eyes back to the next rung, one move only.

Tier 3 · Own It

Heel / toe: Midfoot on rungs (whole foot when possible). Heels can hang slightly on small rungs.

Breath: Exhale on each upward step.

Gaze: Gaze at the wood 1-2 rungs above.

Mud / friction: Narrate "left hand, right foot" out loud.

Self-talk: "Three points. Next rung."

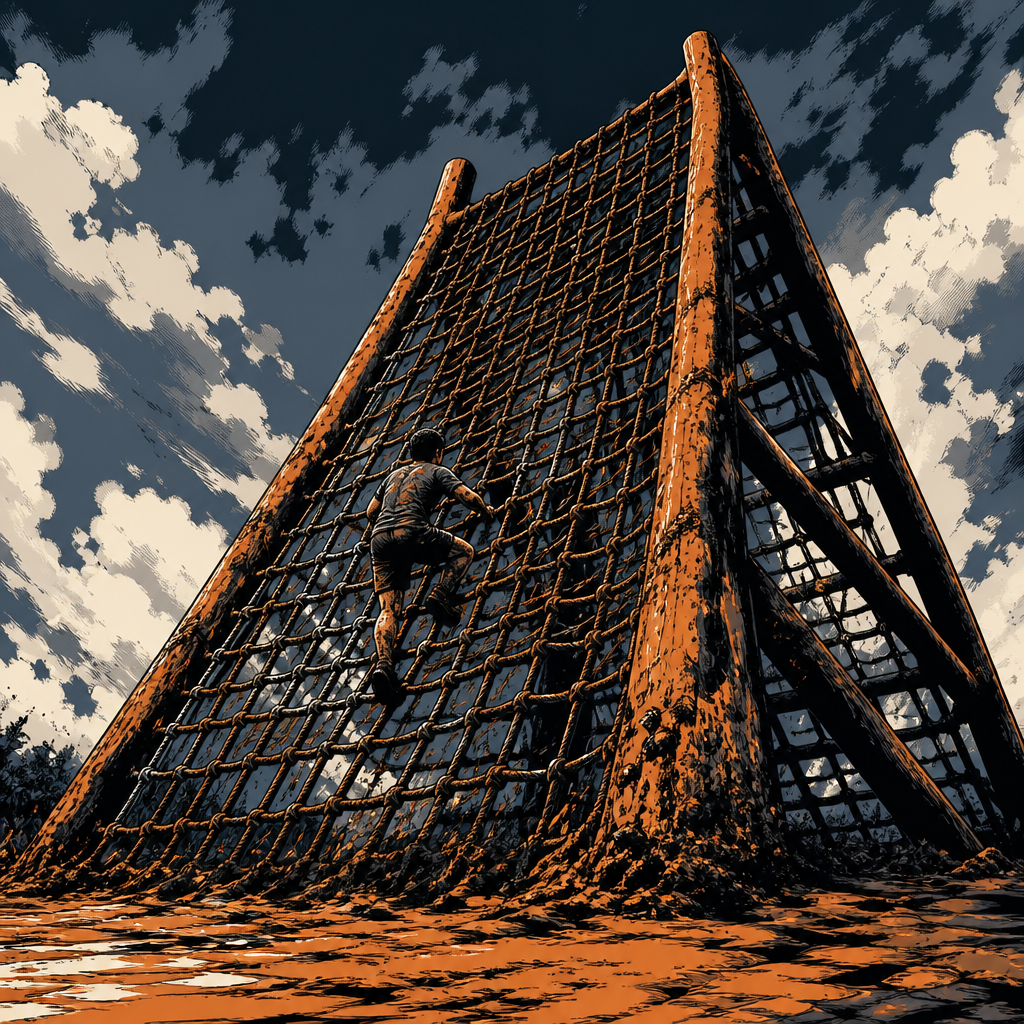
Cargo A-frame comic illustration

“Forty feet up, forty feet down, with nothing but a net.”

Tier 1 · Get Through It

A huge cargo-net A-frame. Climb up one face, over the peak, down the other. Listing says 40′; Zendesk adaptive FAQ says ~30′ A-frame.

The single thing that matters: Stay on the thick rope intersections and keep three points of contact.

Bail-out: Bypass if height or grip is shot. Optional on standard distances.

Tier 2 · Do It Well

  1. Start wide on stable diamonds of net.
  2. Hands on horizontal strands, feet on lower intersections.
  3. Near the peak, slow down. Swing a leg over carefully.
  4. Descend facing the net. Control each step.
  5. Step off the bottom edge. Don't jump from high on the face.

Grip / approach: Wrap fingers deep. Muddy net is slick, so shorter reaches.

Teamwork: Leave lateral space. Bouncing the net messes up climbers beside you.

Common failure + fix: Climbing the soft center sag. Move toward firmer edge lanes if open.

Tier 3 · Own It

Heel / toe: Whole foot on rope Xs when you can. Toes hook when strands are thin.

Breath: Exhale at the peak before the crossover.

Gaze: Gaze at the rope square ahead, not the ground.

Mud / friction: More hand wraps, slower feet.

Self-talk: "Intersection to intersection."

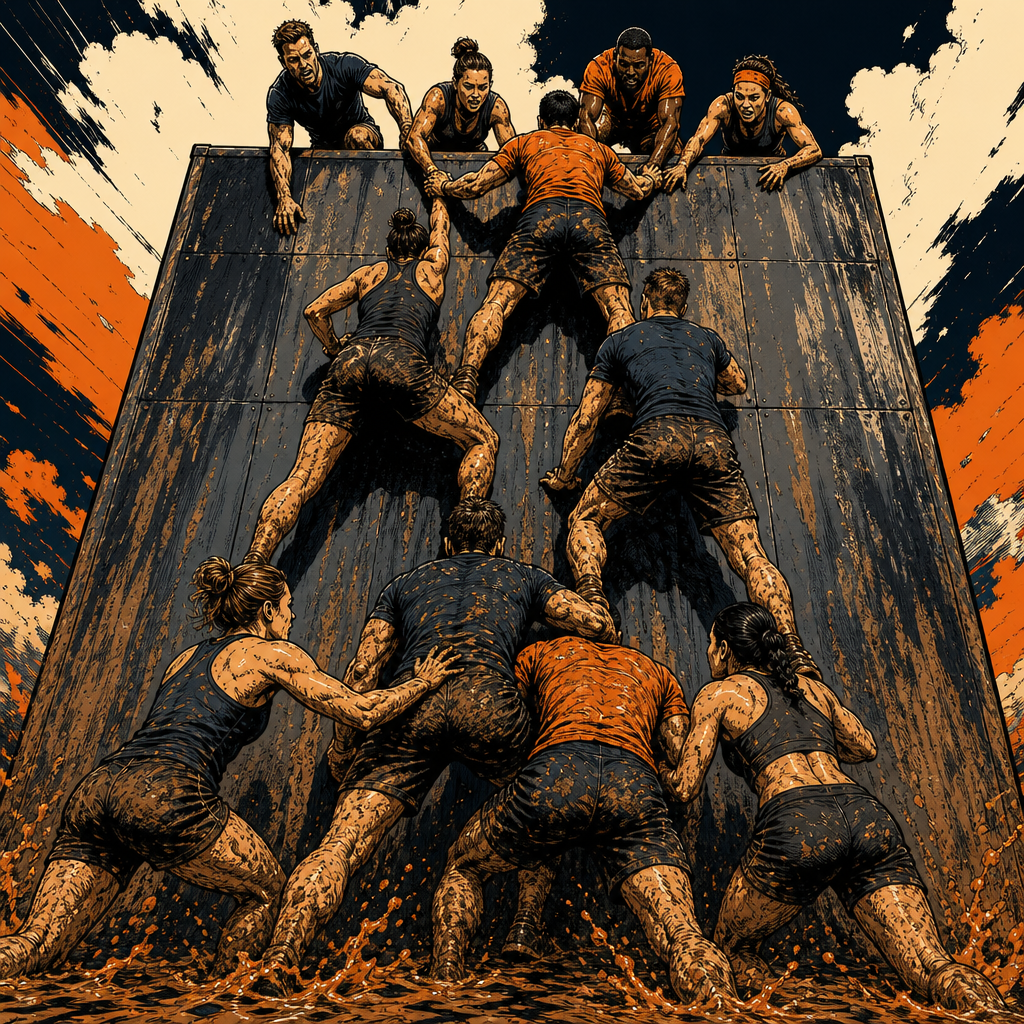
Human pyramid comic illustration

“Try being both a top and a bottom as you harness the power of human engineering to climb over this slick 15' wall.”

Tier 1 · Get Through It

A tall slick 15′ incline. Almost nobody solos it clean. You build a human pyramid and ferry people over.

The single thing that matters: Build a stable base before anyone climbs high.

Bail-out: Walk around, or stay as a base helper without topping out.

Tier 2 · Do It Well

  1. Form a base of strong athletes braced on the wall.
  2. Middle layer steps onto thighs/backs with care.
  3. Light climber goes to the top lip, locks in, becomes a puller.
  4. Rotate: pullers haul the next bodies; bases get pulled last.
  5. Celebrate after the last base is up.

Grip / approach: Muddy wall needs human friction more than shoe rubber.

Teamwork: Clear roles (base / middle / top). Consent before standing on anyone.

Common failure + fix: Everyone rushing the wall at once. Reset, rebuild the pyramid, then climb.

Tier 3 · Own It

Heel / toe: Bases: whole foot drive into the wall, heels loaded for stability. Climbers: soft feet on human platforms.

Breath: Breath together on the big pulls.

Gaze: Eyes on the lip once you're in reach.

Mud / friction: Announce weight shifts. Human friction is the grip.

Self-talk: "Stable base first."

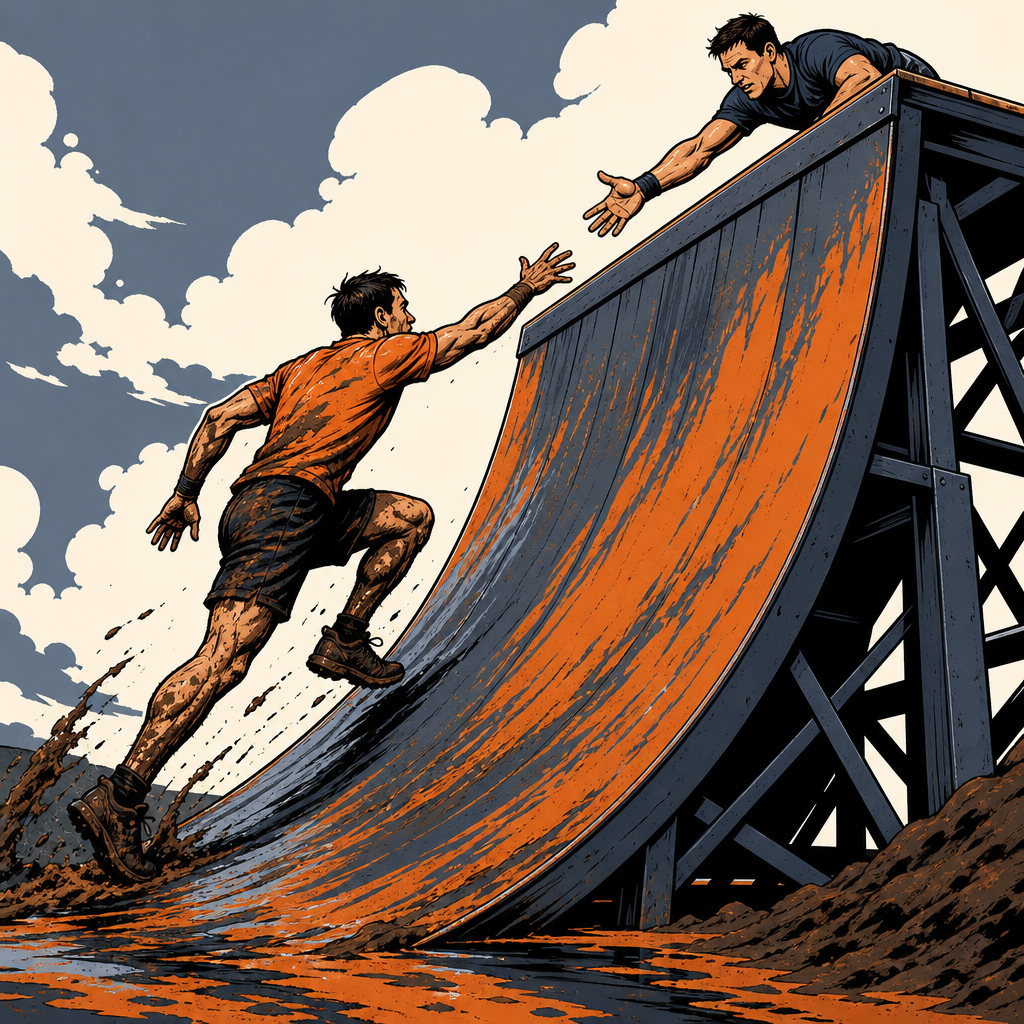
Quarterpipe comic illustration

“Run fast, jump high, and reach for a helping hand over this greased 13' quarterpipe.”

Tier 1 · Get Through It

A greased quarterpipe (listing 13′; FAQ sometimes 12′). Sprint the curve, slap the lip, get hauled by people already on top.

The single thing that matters: Speed into the transition, then commit the jump to hands on the rim.

Bail-out: Take help from the side rope/people, or bypass. Many finish via teamwork.

Tier 2 · Do It Well

  1. Clear a runway. Wait for top catchers to be ready.
  2. Build speed on the flat. Keep posture tall into the curve.
  3. At the steep section, drive knees and reach high.
  4. Grab hands/lip. Frog the knees up while catchers pull.
  5. Immediately turn into a catcher for the next runner.

Grip / approach: Slap and clamp the rim. Muddy grease means you need human hands more than a solo mantle.

Teamwork: 2+ catchers on the lip. Call "ready" before each runner.

Common failure + fix: Slowing at the base to "save energy." You need the opposite: full commit run-up.

Tier 3 · Own It

Heel / toe: Forefoot strike as the wall steepens. Last steps are explosive toes.

Breath: Breath out as you jump to the hands.

Gaze: Eyes on a catcher's wrists, not the sky.

Mud / friction: More speed, earlier reach.

Self-talk: "Fast feet. High hands."

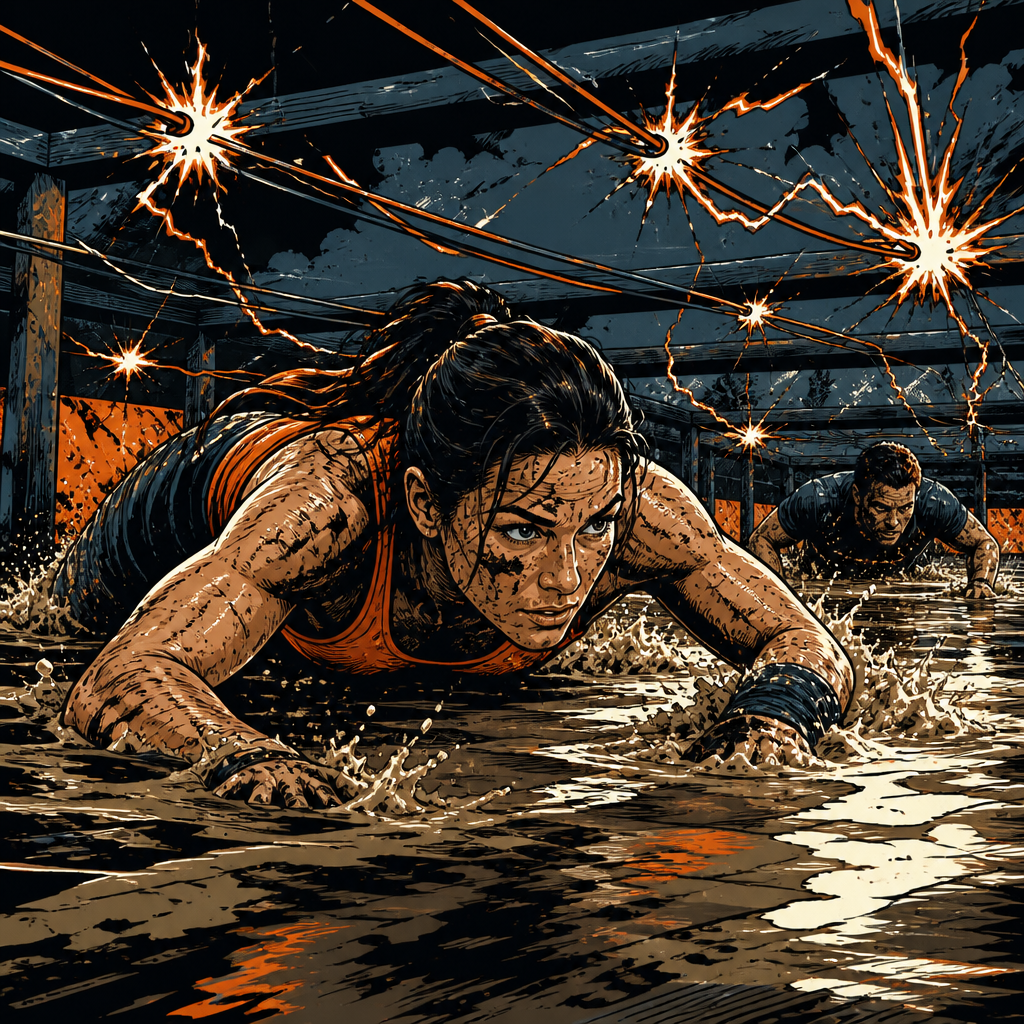
Live-wire crawl comic illustration

“The shallow pool of water will do wonders for your conductivity as you crawl through a field of electrical wires.”

Tier 1 · Get Through It

Crawl through shallow water under electrified wires. Shocks are startling. Keep moving to the end.

The single thing that matters: Low profile and continuous forward motion after a hit.

Bail-out: Bypass if you have implanted metal, epilepsy history, pregnancy, or zero interest in shocks. Optional on 15K challenge rules. Still respect medical caution.

Tier 2 · Do It Well

  1. Enter low on forearms in the water.
  2. Keep hips down. High butts find wires.
  3. When shocked, exhale and keep crawling. Freezing extends contact.
  4. Short strokes to the exit.
  5. Stand only when clear of the wire field.

Grip / approach: Standard crawl. Hands stay in water/mud.

Teamwork: Spacing so you don't kick the person ahead into a wire.

Common failure + fix: Sitting up after a shock. Drop flat and crawl 3 more strokes.

Tier 3 · Own It

Heel / toe: Toes and knees push in water. Heels low.

Breath: Expect a gasp on shock, then return to short exhales.

Gaze: Soft gaze toward the exit.

Mud / friction: Startle is normal. Keep crawling; freezing extends contact.

Self-talk: "Low. Forward. Done."

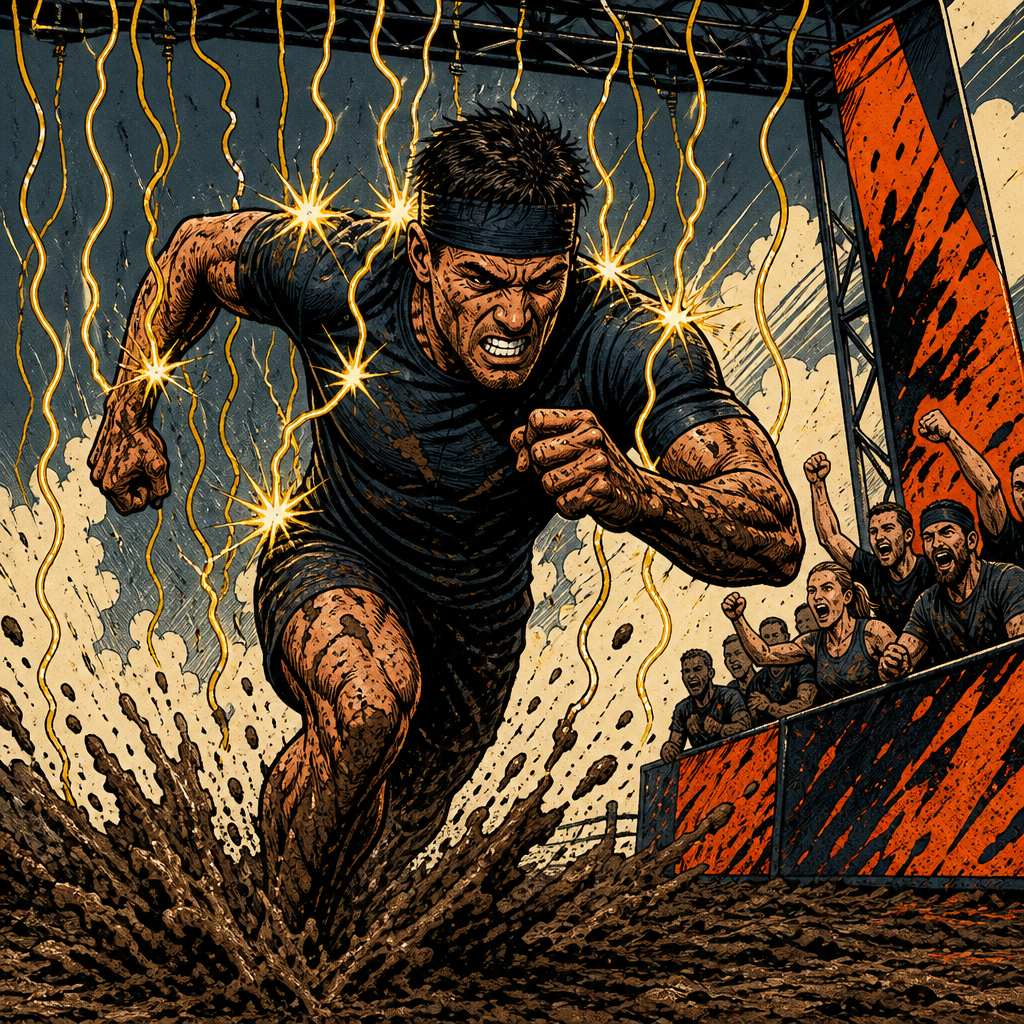
Shock gauntlet comic illustration

“All the muscles in the world won't soften the blow of 10,000 volts.”

Tier 1 · Get Through It

The famous finish wires over muddy ground for roughly 20′. Run, shuffle, or crawl through. Expect shocks and trip hazards.

The single thing that matters: Pick a line and commit. Hesitation multiplies hits.

Bail-out: Walk the side path to the finish festival. Plenty of people do. Bypass if you have implanted metal, epilepsy history, pregnancy, or zero interest in shocks. Headband still happens on optional 5K / 15K rules.

Tier 2 · Do It Well

  1. Decide run vs low shuffle before you enter.
  2. Hands lightly guarding face/chest if running, or drop to a low crawl if you prefer fewer upright hits.
  3. Keep feet moving over uneven mud.
  4. After a shock, re-accelerate instead of standing still.
  5. Clear the field, then celebrate.

Grip / approach: None required. Footing matters more.

Teamwork: Don't grab friends mid-field. You both become a better conductor and a worse trip hazard.

Common failure + fix: Stopping to "brace." Soft jog or crawl without pausing under live wires.

Tier 3 · Own It

Heel / toe: Light quick feet. Midfoot steps over ruts.

Breath: Sharp exhale on contact, then breathe again.

Gaze: Eyes on the finish arch past the wires.

Mud / friction: Shorter stride, higher cadence.

Self-talk: "Through the curtain. Beer after."

Next stops

Map weak links on the body systems page. Run intervals on the timer. Build a taper plan on Train.